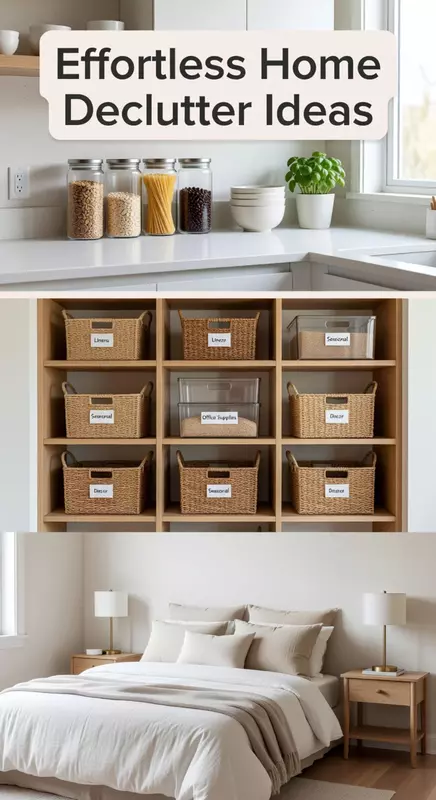
Struggling with limited bedroom storage despite having furniture that could do more? You’re not alone! Discover how you can enhance your space with 7 clever DIY ideas that maximize storage without the need for new purchases, starting with a simple yet effective floating shelf.
DIY Bedroom Floating Shelf Row Above the Bed That Replaces a Bedside Table

Transform your bedroom space with stylish and functional floating shelves.
As an Amazon Associate I earn from qualifying purchases. Affiliate links may earn me a commission at no extra cost to you.
Why DIY Floating Shelves Matter: Replacing traditional bedside tables can free up valuable space in your bedroom. Floating shelves serve as a chic and practical alternative, offering storage without the bulk. Not only do they keep your essentials within reach, but they also elevate the room's style. Aim for shelves around 12 inches above your mattress for easy access while lying down.
Where Most People Get Stuck: Many overlook the importance of securely mounting shelves. Failing to install them properly can lead to accidents or damage to your walls. For a safe installation, make sure to locate wall studs or use appropriate anchors for added support.
- ★Ensure your shelves are at least 12 inches deep to hold books and decor comfortably.
- ★Consider investing in a set of Floating Shelves Set of 3 for a stylish and sturdy option.
- ★Double-check your measurements before drilling to avoid costly mistakes.
⭐ Top Products for Floating Shelves
✨ Editor's Pick
Floating Shelves Set of 3
★★★★½
Our Score: 4.5/5
These stylish floating shelves provide easy access to your nighttime essentials while saving space.
View on Amazon →White Floating Shelves Set of 3
★★★★☆
Our Score: 4.0/5
These versatile wall-mounted shelves are ideal for easy organization and display of decor.
View on Amazon →Wood Floating Shelves Set of 4
★★★★☆
Our Score: 4.0/5
These elegant wooden shelves add rustic charm while providing ample storage for decor.
View on Amazon →📋 Quick Tips:
- Choose the right depth: Aim for shelves at least 12 inches deep for optimal storage.
- Use quality anchors: Ensure you secure shelves to wall studs or use heavy-duty anchors.
- Think about decor: Personalize shelves with plants and art for added visual interest.
DIY Bedroom Crate Wall Shelf That Repurposes Wooden Crates into a Modular Display
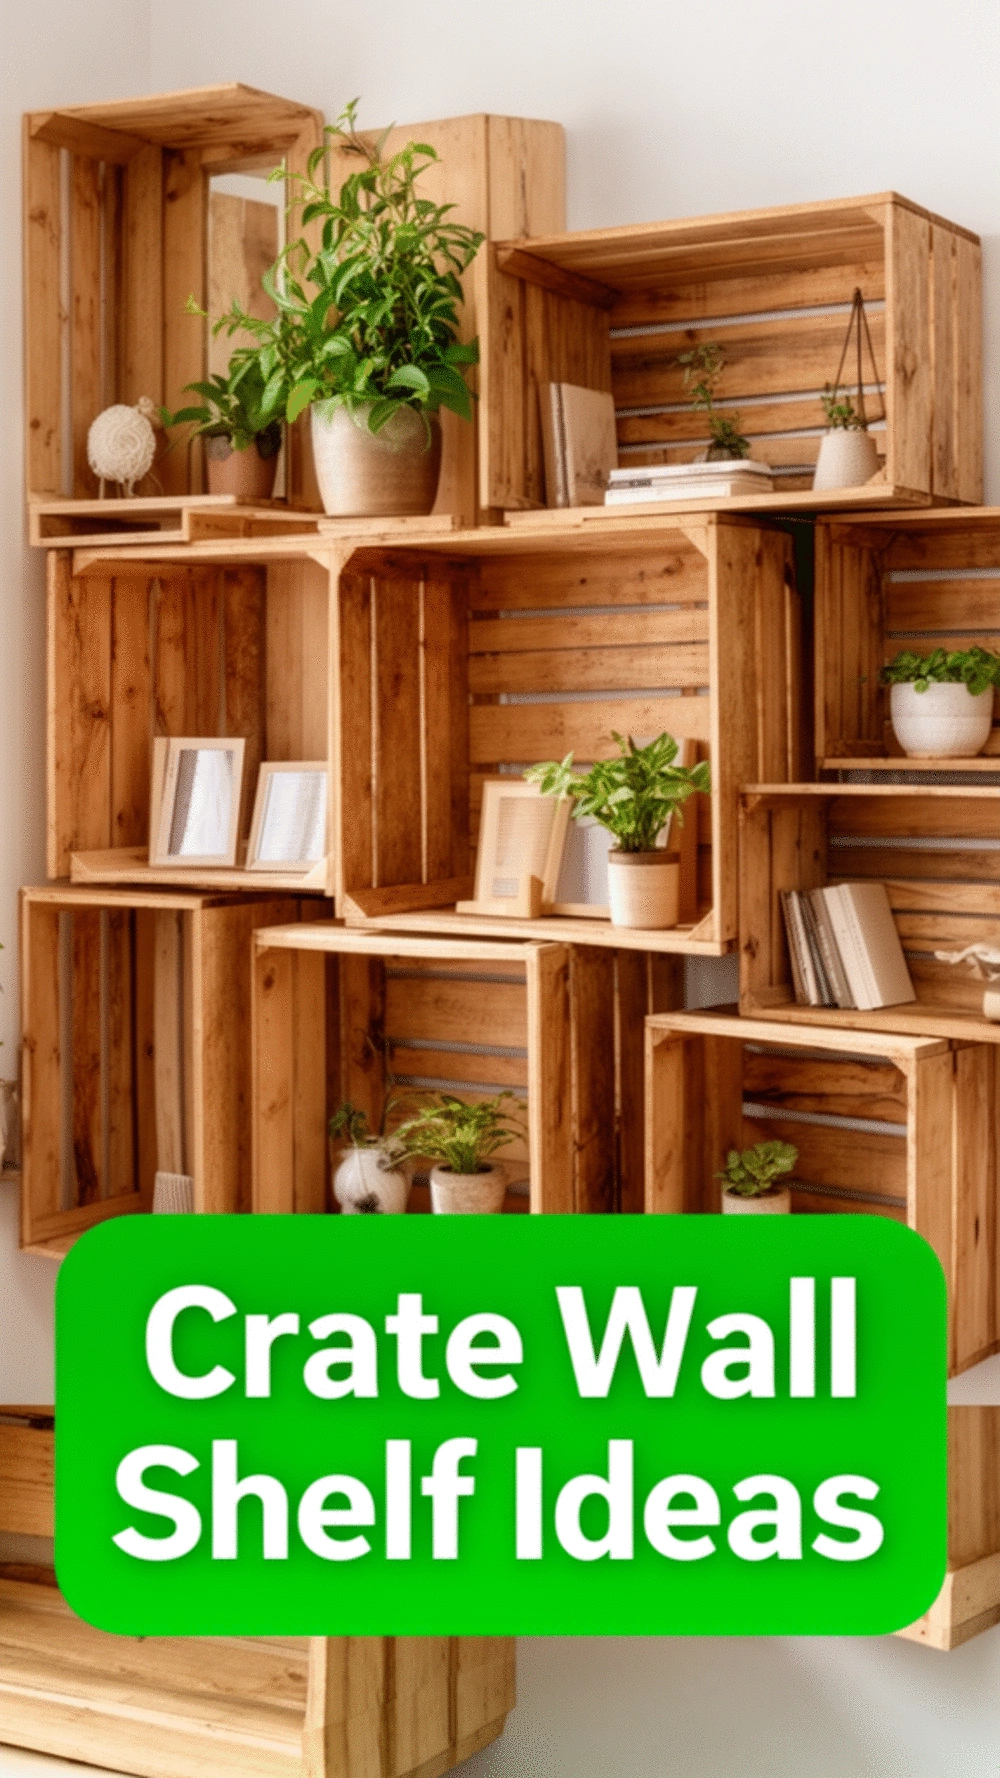
Transform old crates into stylish storage solutions.
How DIY Crate Wall Shelves Work: Using old wooden crates as wall shelves is a fantastic way to add character to your space while maximizing storage. These shelves are not only customizable but can also be easily rearranged, allowing you to update your decor whenever you wish. By simply securing the crates to your wall, you create a functional and stylish display.
What People Rarely Consider is the importance of securing the crates properly. Many forget to check for wall studs, leading to potential accidents. For instance, if a crate loaded with books falls, it can cause damage or injury. Always ensure you use appropriate mounting hardware for the weight of the items.
- ★Customize your crates with paint or stain to match your decor.
- ★Choose a sturdy wall shelf kit like the Wall Shelf Garage Storage Rack for heavy items.
- ★Check weight limits of your crates to avoid overloading.
⭐ Top Products for Wooden Crate Wall Shelves
✨ Editor's Pick
Wall Shelf Garage Storage Rack
★★★★½
Our Score: 4.5/5
This sturdy rack is perfect for organizing wooden crates and maximizing your wall space.
View on Amazon →Small Floating Shelf for Wall Storage
★★★★☆
Our Score: 4.0/5
This compact shelf is ideal for small items, enhancing your wall's aesthetic.
View on Amazon →New Lack Wall Shelf Unit
★★★★☆
Our Score: 4.0/5
This narrow shelf is perfect for small spaces, fitting seamlessly into any arrangement.
View on Amazon →🚀 How to Get Started:
- Choose your crates: Select crates that fit your style and available wall space.
- Plan your layout: Experiment with different arrangements on the floor before mounting.
- Secure properly: Use wall studs for mounting to ensure your crates can handle the weight.
DIY Bedroom Under-Bed Timber Drawer on Casters Built for Under Fifty Dollars
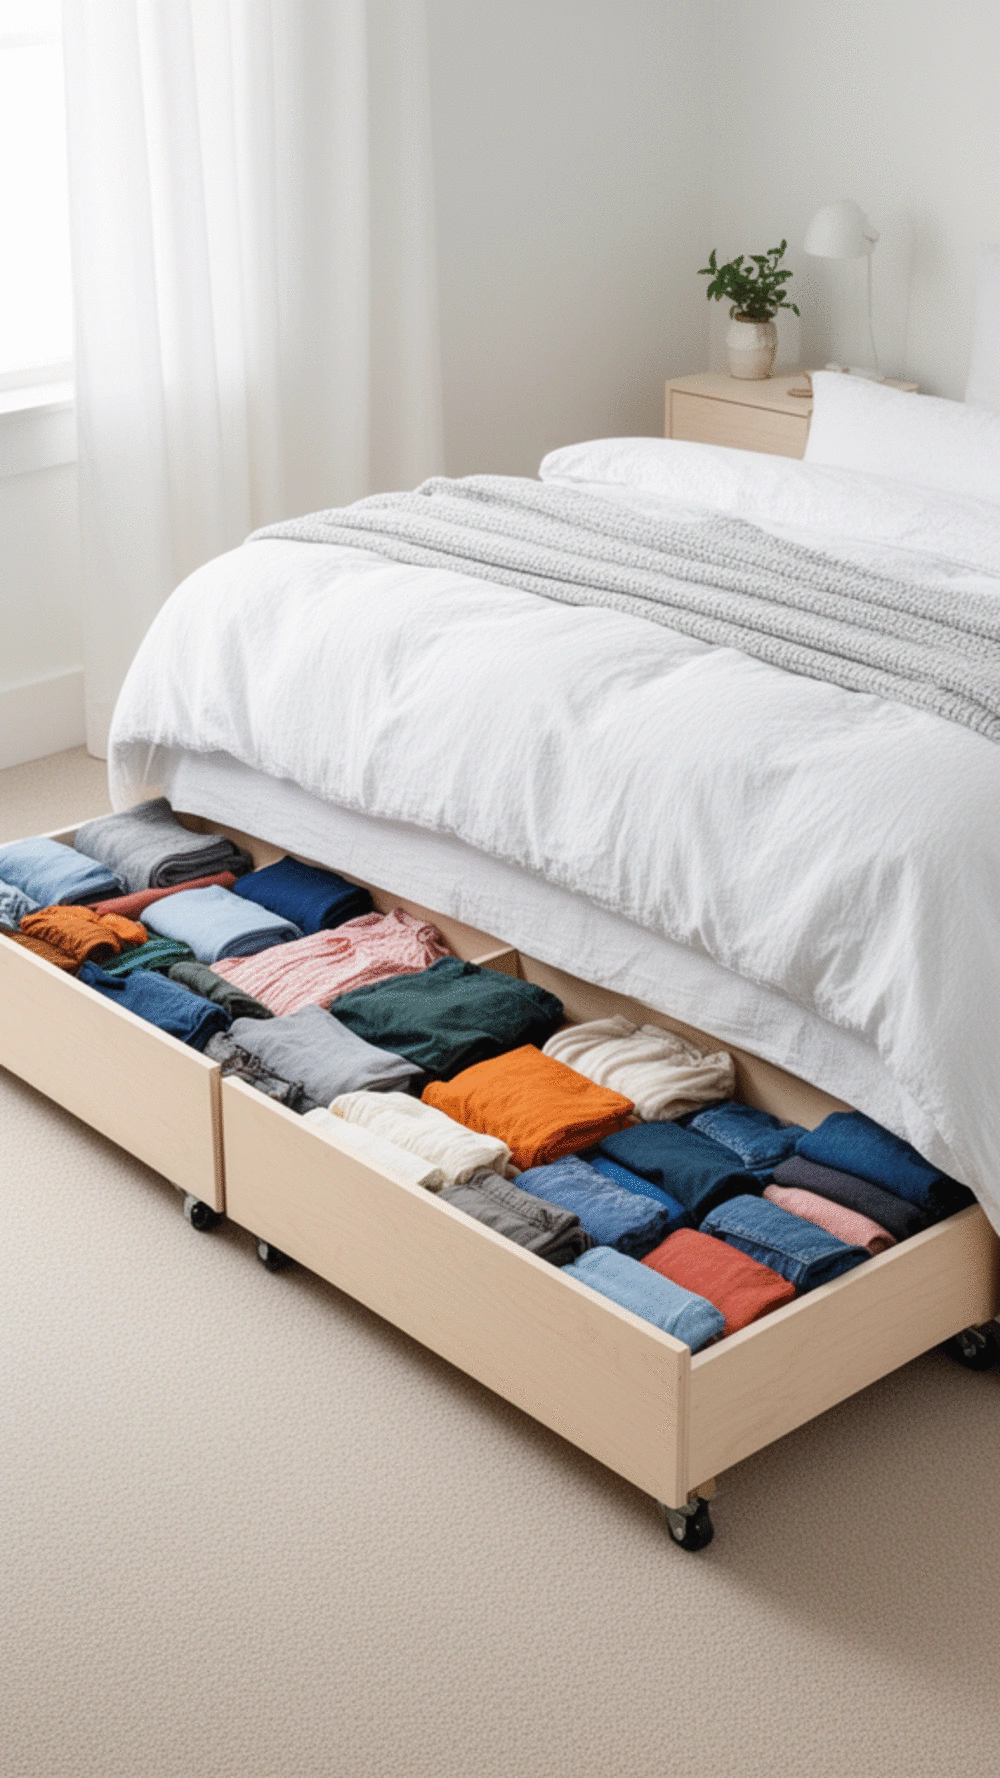
Maximize your bedroom space with a sleek under-bed storage solution.
Why DIY Under-Bed Drawers Matter: Transforming the often-overlooked space beneath your bed into a functional storage solution can declutter your room and make items easily accessible. Building a timber drawer on casters is an affordable project that can be accomplished for less than fifty dollars while providing ample storage for seasonal clothing or extra linens.
What People Rarely Consider is the importance of accurately measuring the height of your bed before starting your build. A drawer that’s too tall can create an awkward fit and restrict access, while one that’s too short may not utilize the full potential of the space. This simple mistake can lead to frustration; ensure you take precise measurements to find the perfect fit.
- ★Gather materials like plywood, casters, and wood screws to keep costs low.
- ★Make sure the casters can support the weight of the items you plan to store.
- ★Consider using under-bed storage containers for added organization within the drawer.
⭐ Top Products for Under-Bed Storage
Underbed Storage Containers Pack
★★★★☆
Our Score: 4.0/5
These low-profile containers are ideal for organizing clothing and accessories under beds, ensuring accessibility.
View on Amazon →Under Bed Storage Containers Pack
★★★★☆
Our Score: 4.0/5
These durable containers provide easy access and organization for your under-bed space, keeping it tidy.
View on Amazon →✨ Editor's Pick
Under the Bed Storage Containers
★★★★½
Our Score: 4.5/5
These rolling containers provide dust-free storage and large capacity for all your under-bed needs.
View on Amazon →💡 Best Practices:
- Measure Twice: Ensure the height of your drawer matches your bed's clearance for seamless fit.
- Choose Durable Materials: Opt for sturdy plywood and reliable casters to ensure lasting use.
- Organize Inside: Utilize smaller containers within the drawer to keep items sorted and easy to find.
The DIY Bedroom Pegboard Wardrobe Back Panel That Hangs Accessories Inside the Door
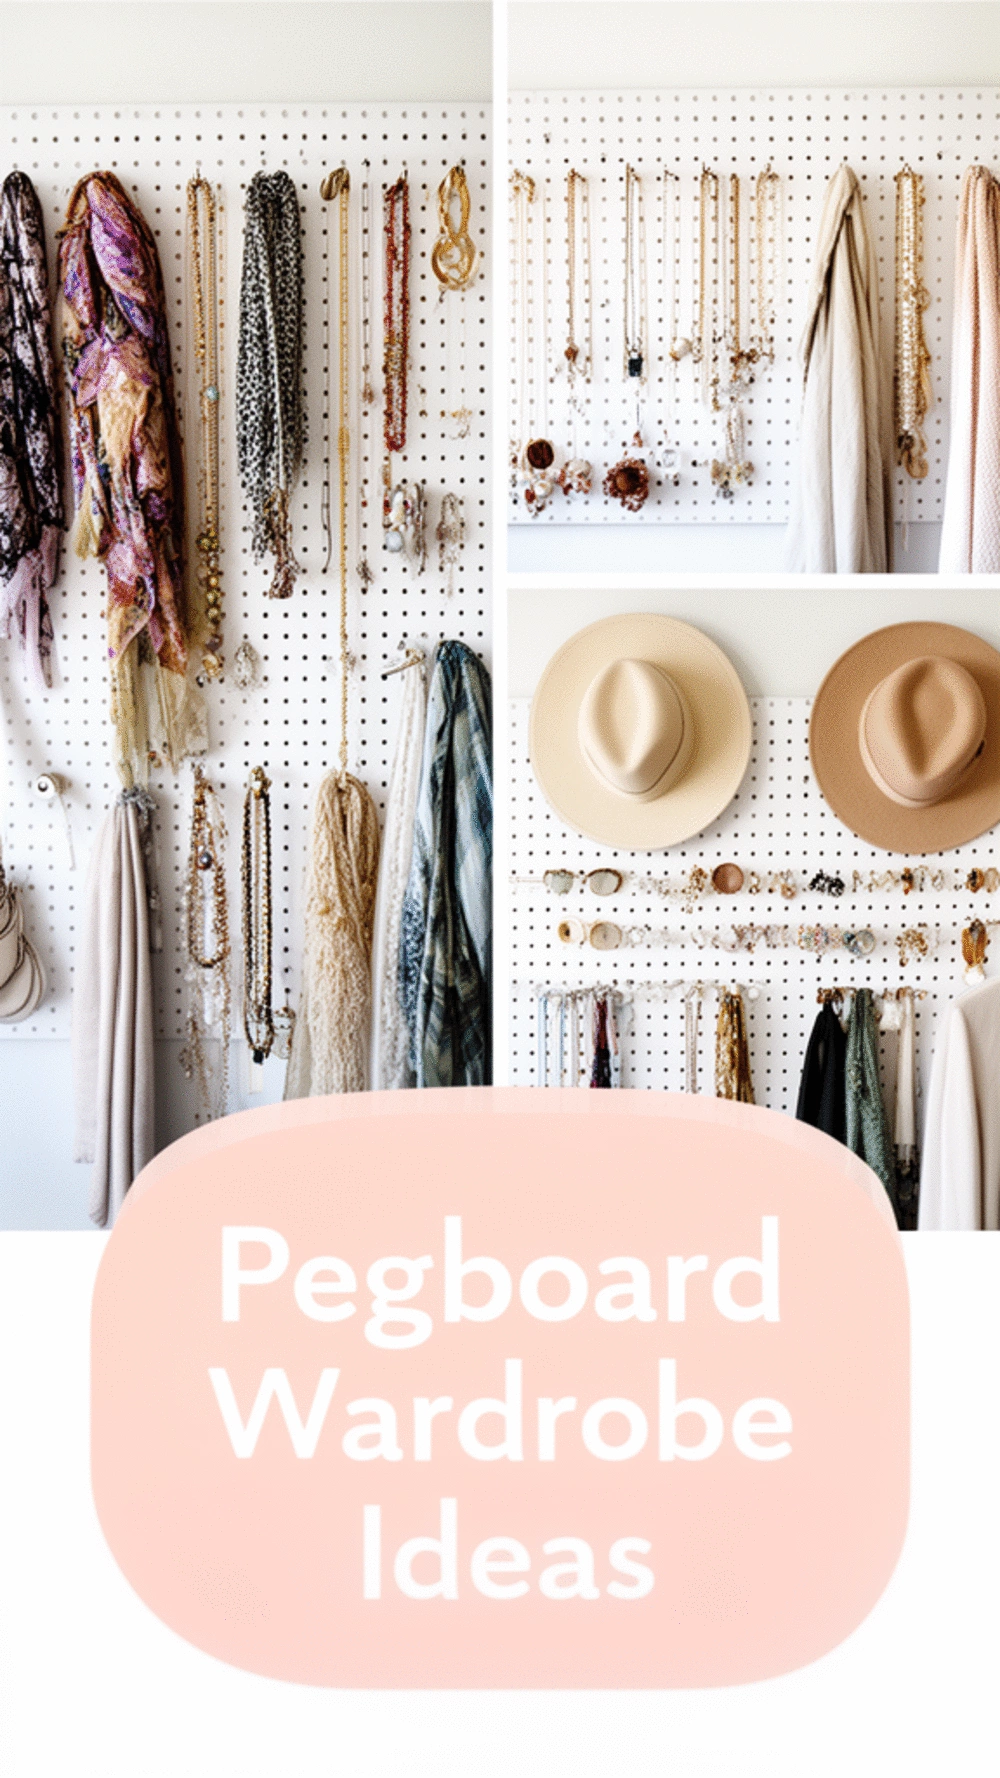
Transform clutter into organized beauty with this clever pegboard solution.
Understanding the Pegboard Wardrobe Back Panel: A pegboard inside your wardrobe door can revolutionize how you store accessories. This DIY project not only saves valuable space but also enhances visibility for essentials like scarves and jewelry, making accessing them a breeze.
Where most people get stuck is not considering how a pegboard can fit into their existing wardrobe design. When I installed one in my own wardrobe, I was amazed at how it neatly stowed all my accessories, freeing up drawer space. Plus, it added a touch of creativity and personalization to my closet.
- ★Use sturdy hooks for heavier accessories to ensure stability.
- ★Consider color-coding your accessories for a visually appealing display.
- ★Measure the pegboard to fit snugly within the door space before installation.
⭐ Top Products for Pegboard Organization
✨ Editor's Pick
121-Piece Pegboard Hooks Set
★★★★½
Our Score: 4.5/5
Organize your accessories effortlessly with this durable pegboard hook set that offers universal compatibility.
View on Amazon →8-Pack Pegboard Hooks
★★★★☆
Our Score: 4.0/5
These heavy-duty hooks provide quick organization for your tools, ensuring easy access.
View on Amazon →💡 Best Practices:
- Choose the Right Accessories: Hang frequently used items like scarves and jewelry for easy access.
- Secure the Pegboard Well: Use screws to attach the pegboard firmly, ensuring stability for heavier items.
- Align Accessories by Size: Group smaller items together and larger ones separately for better organization.
Finding new ways to add space without new furniture is a journey of discovery, and you're doing great. Each idea explored brings you closer to a more organized and serene bedroom. Remember, this is about creating sustainable solutions that truly fit your space and lifestyle.
💡 Simple Reminders:
- A clear mind often starts with effortless home declutter.
- Personalize your projects to reflect your unique style and needs.
- Measure twice, cut once – precision saves time and materials in the long run.
DIY Bedroom Headboard with Built-In Shelf That Adds Nightstand Storage to Any Bed
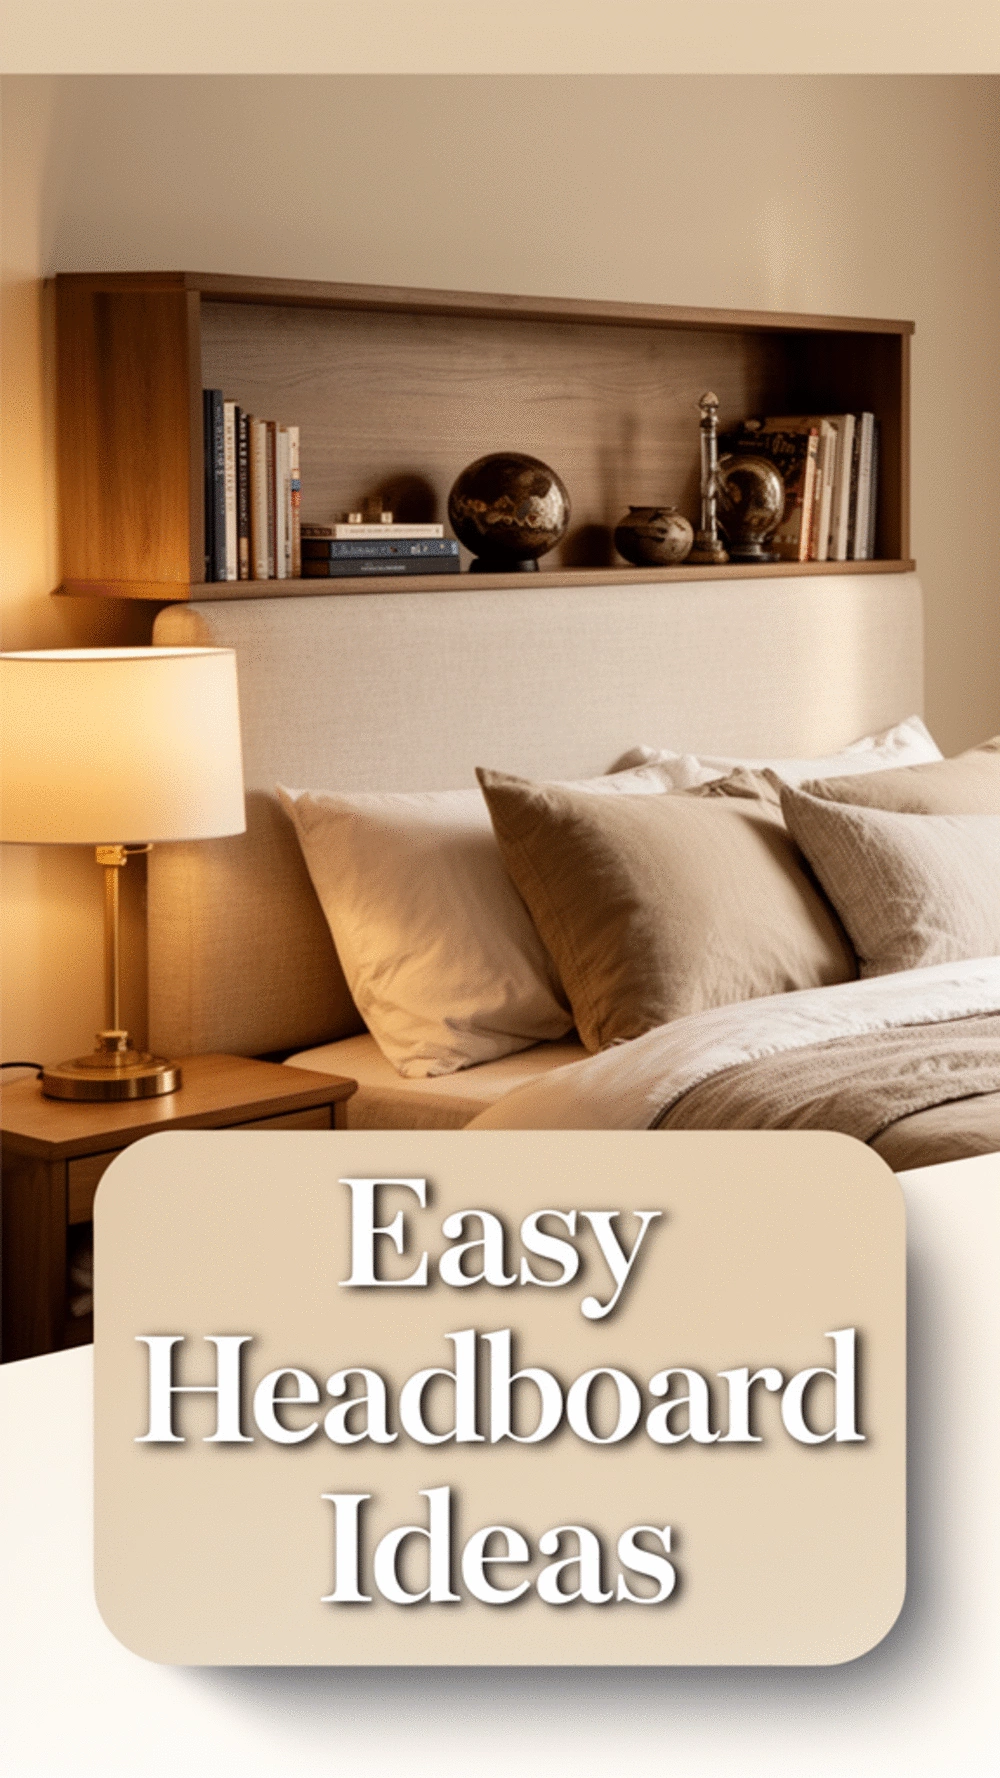
Transform your bedroom with functional and stylish storage solutions.
How a DIY Headboard with Built-In Shelf Solves Storage Woes: A headboard with an integrated shelf not only serves as a supportive backdrop for your bed but also offers convenient access to your nighttime essentials. Imagine having your favorite book or that soothing lamp right at your fingertips! This project enhances both the functionality and aesthetic appeal of your bedroom, keeping things tidy and stylish.
Where Most People Get Stuck: Many overlook the importance of securing the headboard to the wall for safety. A sturdy attachment is essential, especially if you have kids or pets. Ensuring the headboard is at a comfortable height can also be tricky; aim for a height where you can comfortably reach the shelf while lying in bed.
- ★Consider using plywood or reclaimed wood for a budget-friendly headboard you can customize.
- ★Add LED strip lights to the shelf for a cozy reading nook at night.
- ★Ensure the shelf is deep enough to hold books and personal items securely without tipping over.
⭐ Top Products for Headboard Storage
Rechargeable Clip on Reading Light
★★★★☆
Our Score: 4.0/5
This cordless clip-on light offers adjustable brightness for reading comfortably at night.
View on Amazon →✨ Editor's Pick
LED Desk Lamp with Clamp
★★★★★
Our Score: 5.0/5
A perfect energy-efficient desk lamp that enhances bedtime reading with adjustable brightness.
View on Amazon →Desk Clip on Lamp for Reading
★★★★☆
Our Score: 4.0/5
This clip-on lamp provides multiple brightness settings for tailored reading comfort.
View on Amazon →🚀 Quick Tips:
- Choose the Right Height: Position the shelf so you can reach it comfortably while in bed.
- Use Quality Materials: Opt for sturdy wood to ensure your headboard lasts and looks great.
- Secure it Well: Always anchor the headboard to the wall for safety, especially in busy households.
DIY Bedroom Window Seat Bench with Hinged Lid That Creates Hidden Under-Seat Storage
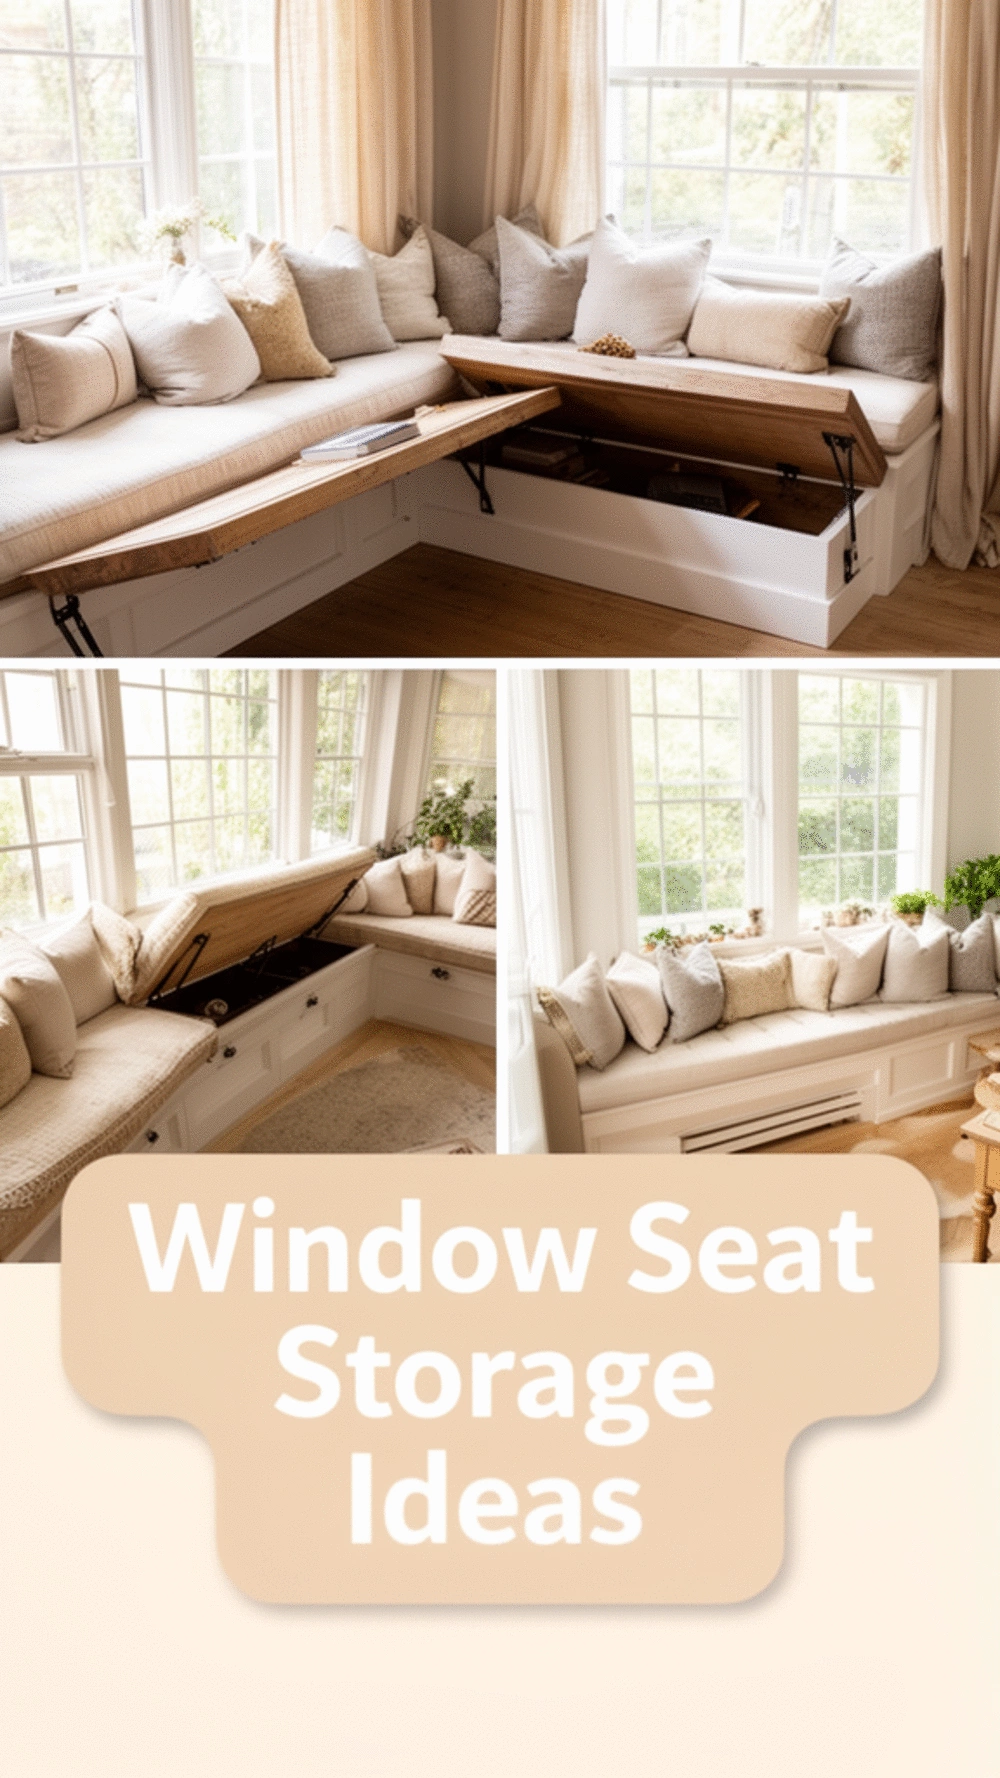
Transform your window space into a cozy, functional storage solution.
The Benefits of a Window Seat Bench with Storage: Utilizing that often neglected space in front of windows, a DIY window seat bench not only adds comfort and charm but also provides hidden storage beneath a hinged lid. This simple project can dramatically improve both the functionality and aesthetic of a small bedroom.
What People Rarely Consider is the importance of securing the bench to the wall for safety. Many overlook this detail, thinking the bench will be stable on its own, but a sturdy attachment is essential, especially if you're storing heavier items beneath it. For instance, if your window seat becomes a go-to spot for extra blankets or books, ensuring it won’t shift is key to avoiding accidents.
- ★Use the appropriate dimensions for your bench to ensure a comfortable seat height.
- ★Select durable cushion materials that enhance comfort while matching your decor.
- ★Secure the bench to the wall properly to prevent it from tipping over when accessing storage.
⭐ Top Products for Storage Benches
Retro Wooden Storage Chest
★★★★☆
Our Score: 4.0/5
This versatile storage chest serves as a toy box or shoe organizer, enhancing your room's organization.
View on Amazon →Hall Tree with Shoe Storage Bench
★★★★☆
Our Score: 4.0/5
This multi-purpose hall tree combines seating and storage for organized entryways, keeping space tidy.
View on Amazon →✨ Editor's Pick
Entryway Shoe Bench with Hidden Storage
★★★★½
Our Score: 4.5/5
This stylish bench offers hidden storage for shoes, perfect for maximizing space in entryways.
View on Amazon →💡 Quick Tips:
- Measure your window space: Ensure the bench fits perfectly and enhances comfort.
- Use sturdy materials: Choose quality wood to ensure safety and durability for your bench.
- Consider cushion colors: Select cushions that complement your room's decor for a cohesive look.
Why a DIY Bedroom Curtain Rail Wardrobe Costs Almost Nothing and Looks Like a Feature
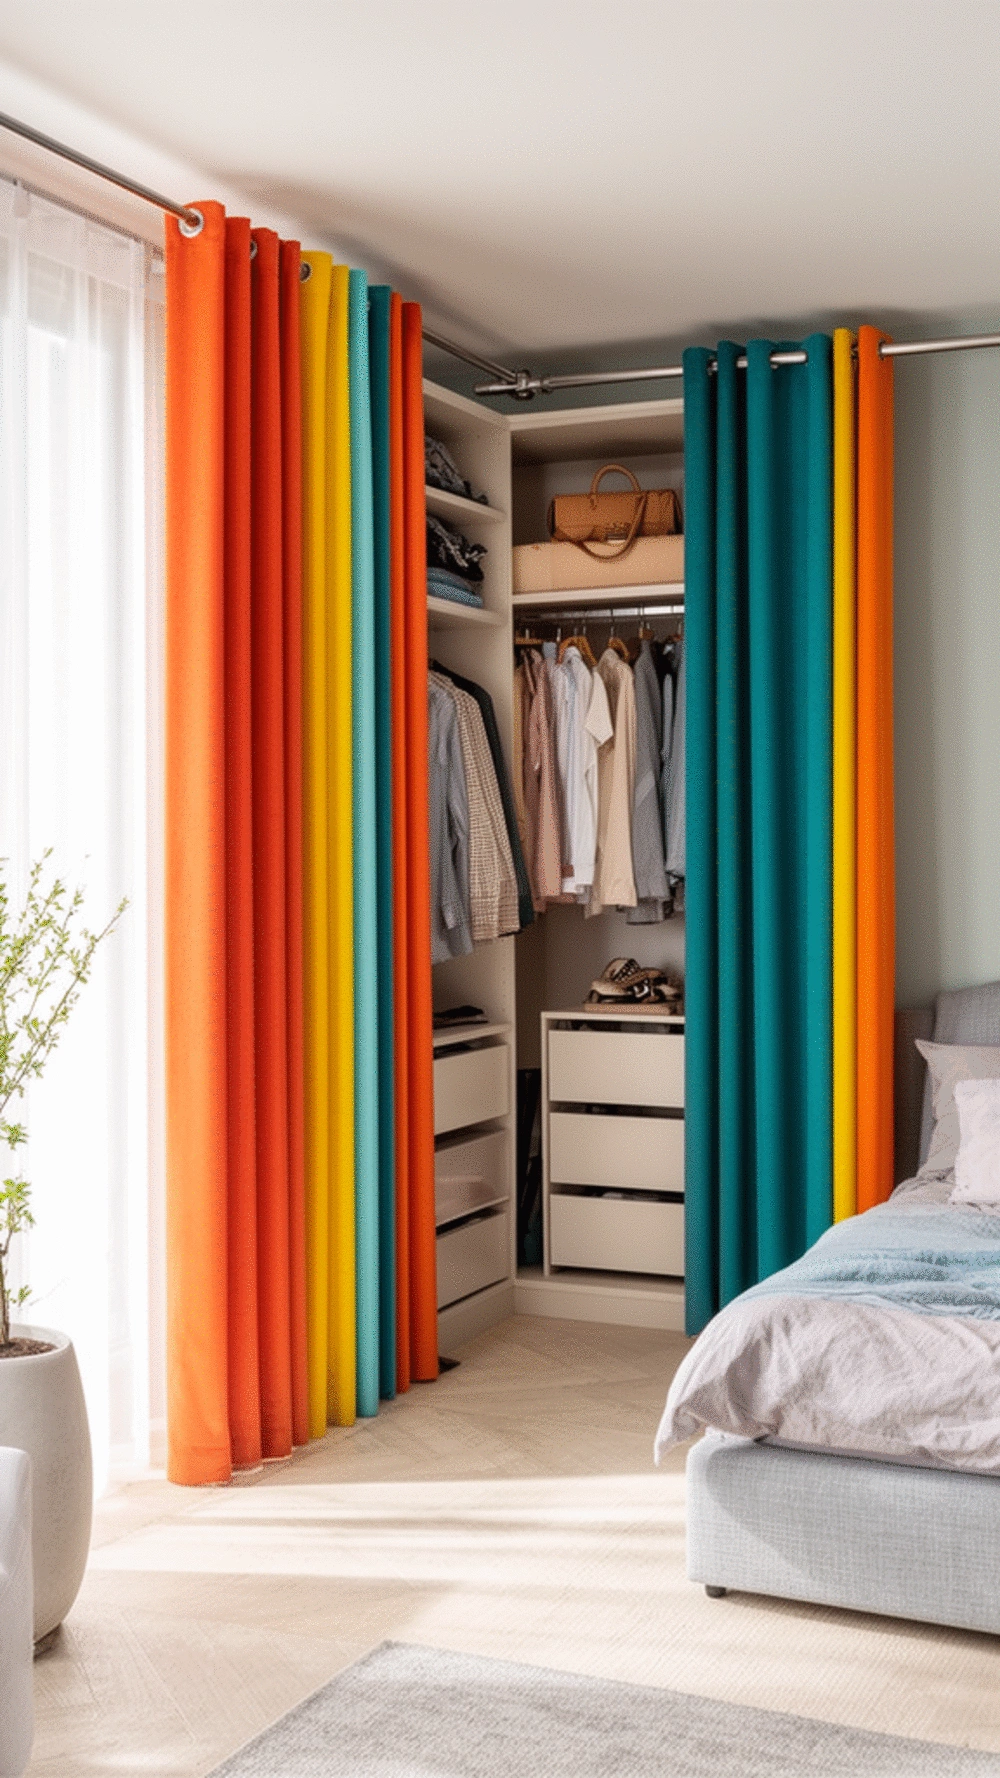
Transform your room with a stylish curtain rail wardrobe on a budget.
Why a DIY Curtain Rail Wardrobe is a Game Changer: A curtain rail wardrobe offers a chic, affordable way to showcase your clothing and accessories. By using a simple rail and your favorite curtains, you can create an open wardrobe that not only saves space but also adds a decorative touch to your bedroom.
What People Rarely Consider about curtain rail wardrobes is their versatility. Many overlook how easy it is to install and customize them to fit personal styles. For instance, using patterned curtains can add a pop of color and texture, making your wardrobe a striking feature rather than just a storage solution.
- ★Select lightweight curtains that complement your room's color scheme for a cohesive look.
- ★Ensure the curtain rail is securely mounted to prevent sagging or accidents.
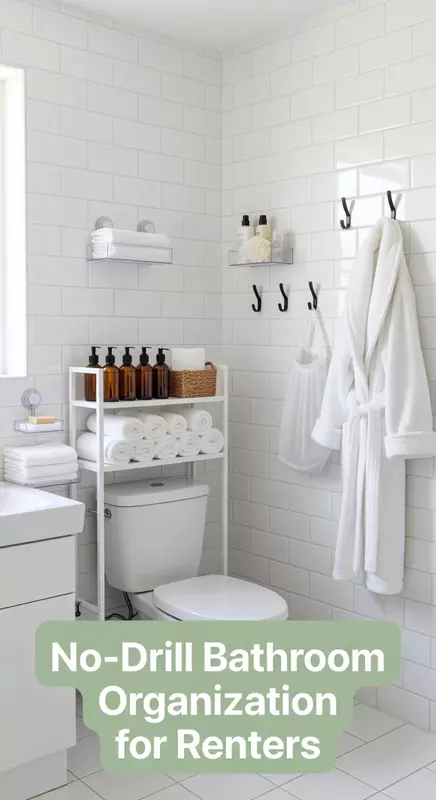
- ★Consider using a tension rod for a no-drill installation option, perfect for renters.
⭐ Top Products for Wardrobe Solutions
✨ Editor's Pick
Adjustable Curtain Rod Tension Set
★★★★½
Our Score: 4.5/5
This tension rod is perfect for creating a stylish wardrobe without the need for extensive installation.
View on Amazon →Adjustable Metal Closet Rod
★★★★☆
Our Score: 4.0/5
This heavy-duty rod allows you to hang clothes efficiently in any wardrobe setup.
View on Amazon →Stepless Adjustable Metal Closet Rod
★★★★☆
Our Score: 4.0/5
This durable rod provides versatile organization for all your clothing needs.
View on Amazon →🚀 Quick Tips:
- Select curtains: Choose lightweight, attractive curtains that match your room's decor.
- Securely mount: Ensure the curtain rail is firmly installed to prevent sagging or accidents.
- Consider tension rods: Use tension rods for an easy, no-drill installation, perfect for renters.
You now have seven practical ways to enhance your bedroom storage with creativity and resourcefulness. Start with what feels manageable; choose one or two ideas that resonate with your style and needs.
Your space will feel more like yours with each thoughtful adjustment, allowing for greater comfort and functionality. Remember, progress is found in the little changes that bring you joy and ease in your daily life.


